Step One - Shutdown the laptop and disconnect all power.
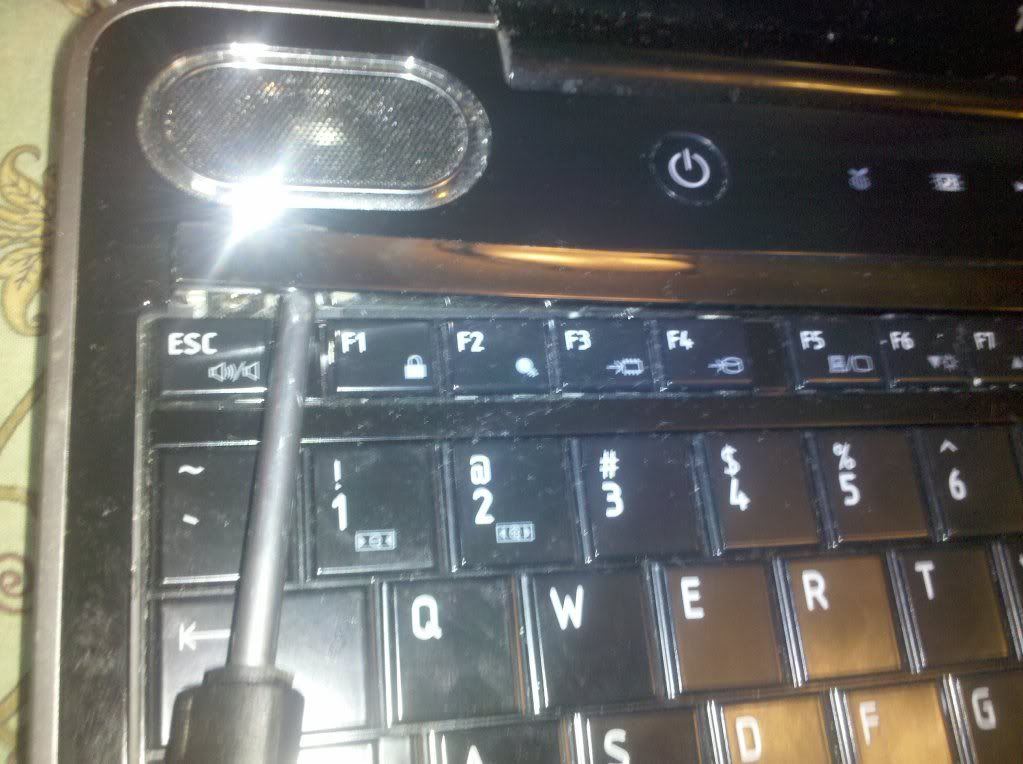
Step Two - Remove the keyboard bezel.
In case you don't know, the keyboard bezel is a little strip of plastic that hides the screws holding the keyboard in place. No one wants to see that. You can usually identify the bezel by a seam in your laptop body, just above the top row of keys. Using a small flat head screwdriver, gently pry the bezel up. It should be help in place by about 4-6 tabs built into the bezel.
Step 3 - Remove the screws
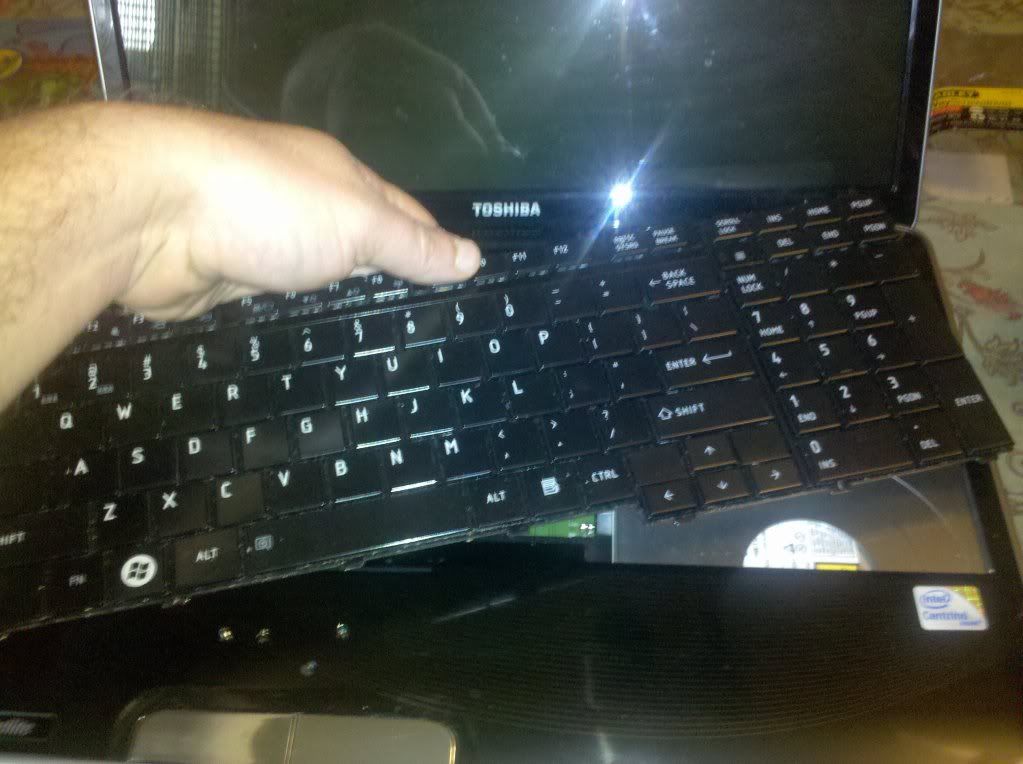
Your laptop keyboard should be held in place by a few tiny screws. Remove these screws and lift up on the keyboard. If it won't lift right up, you haven't removed all the screws.

Once all screws are out you should be able to just lift up the keyboard like this:
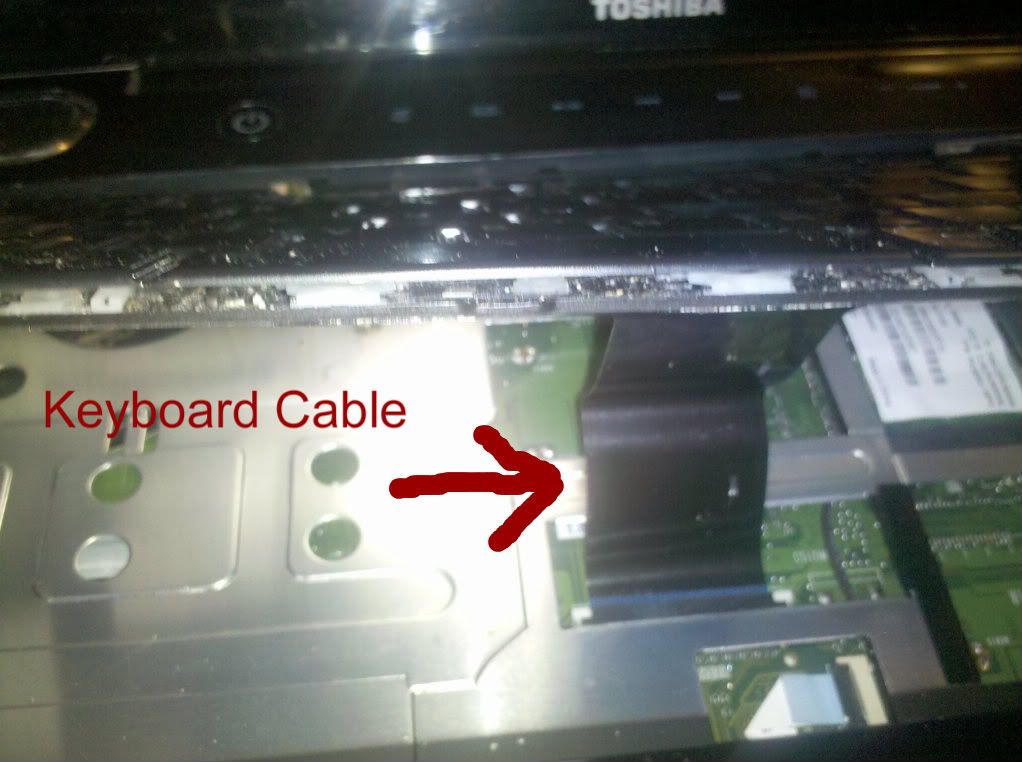
Step 4 - Identify and remove the laptop connection
Identifying the connection between your laptop and its keyboard is simple, as its the only cable coming out of the keyboard. It will be a flat cable.
Notice the small plastic clip holding the flat cable in place:
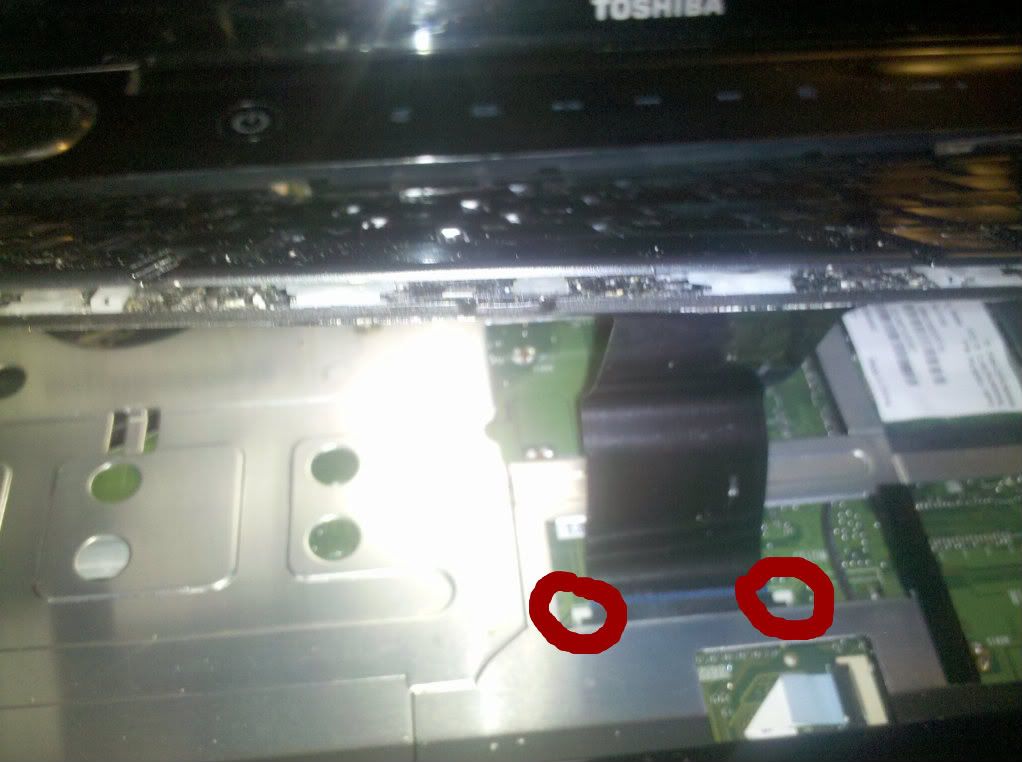
Use a small screwdriver to move the clip forward. It will only move about an eighth of an inch or so. After doing that, your flat cable should slip right out.(If it hasn't already.)
Step Five - Replace the laptop keyboard
By the time you have reached this point, you should be good. Slide the flat cable of your new keyboard into the slot you removed the old one from. Slide the clips back until the cable resists light tugging. (Anything more than light tugging will remove the cable. Don't worry! Simply slide it back and re-tighten the clip.) Align the keyboard with the opening and replace the screws. Next replace the bezel. I find this easiest if I start at one end and work my way to the other. Voila! You have just replaced a laptop keyboard!